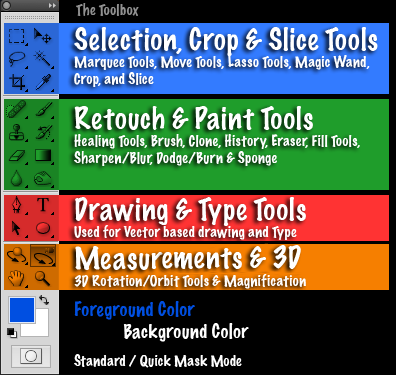
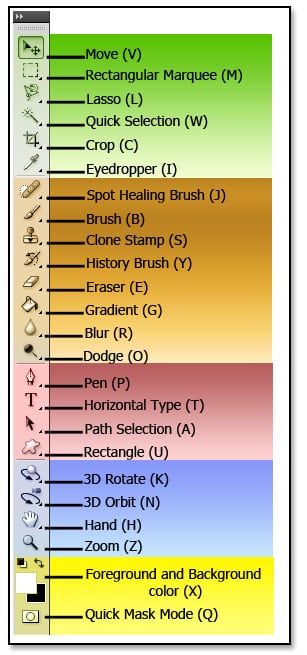
Short cut keys are shown inside the parenthesis.
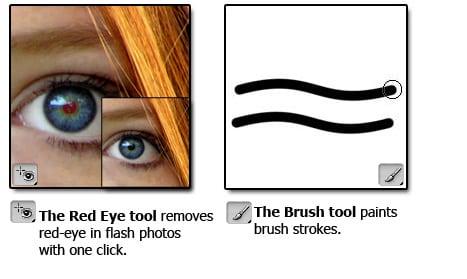
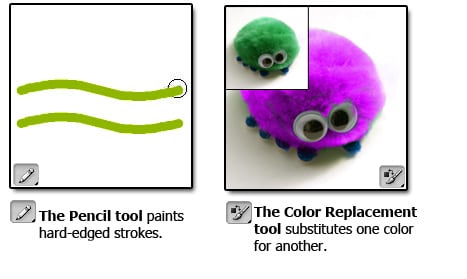
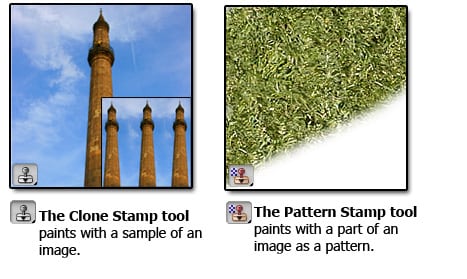
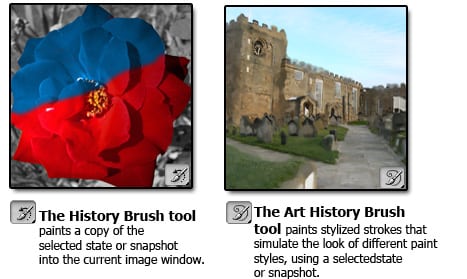
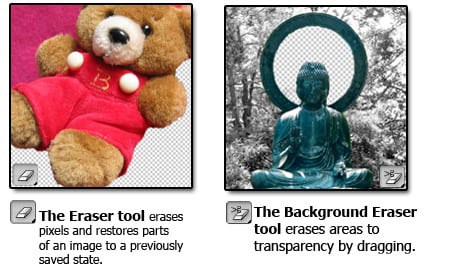
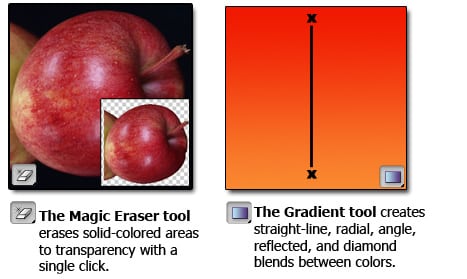
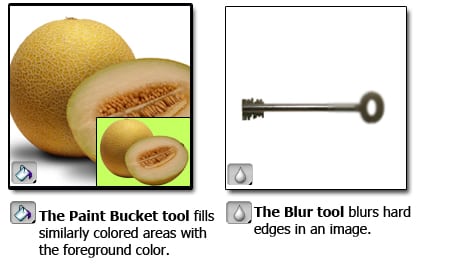
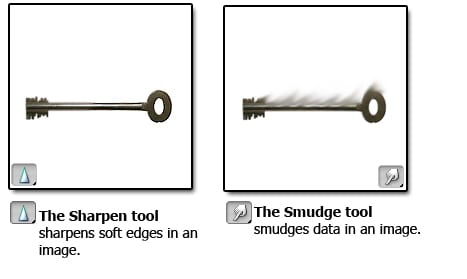
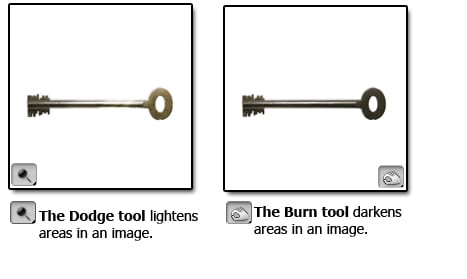
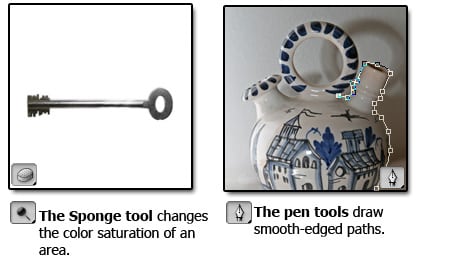
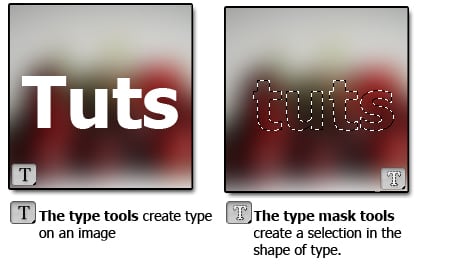
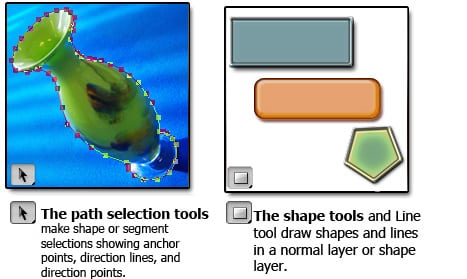
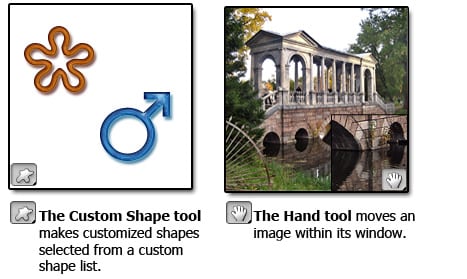
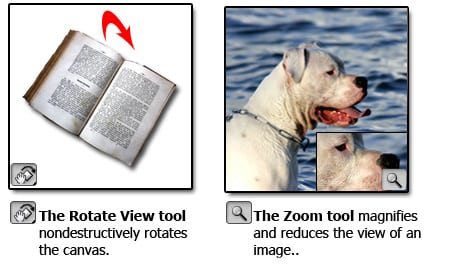
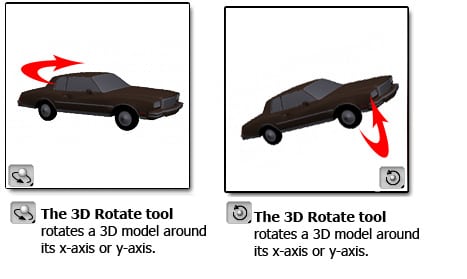
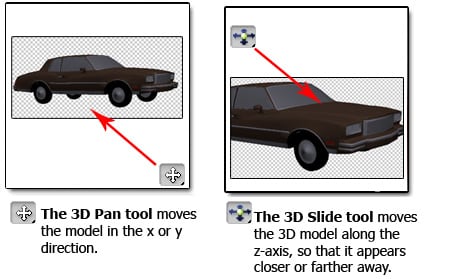
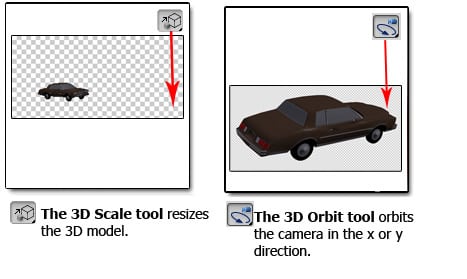
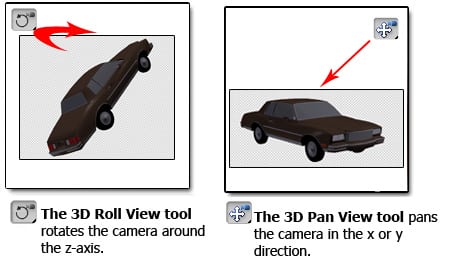
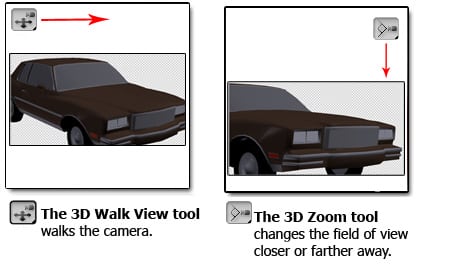
Accessing The Hidden Tools
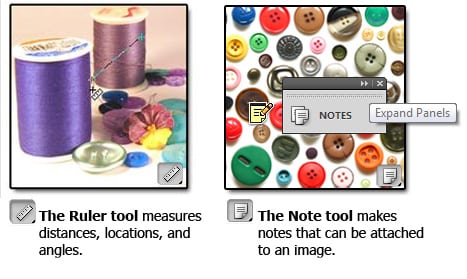
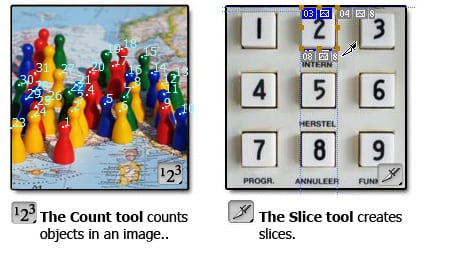
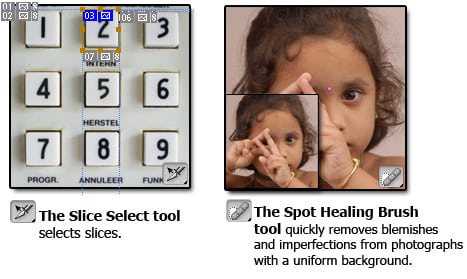
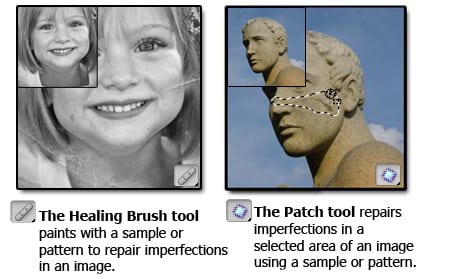
Photoshop CS4, like earlier versions, comes with so many tools that if Adobe tried to display them all at once, the Tools panel would need its own scroll bar. So instead, Adobe has grouped many related tools together, with one tool in the group visible in the Tools panel and the others hidden behind it. Whenever you see a tool in the Tools panel with a small arrow to the bottom right of the icon, it means there are additional tools behind it waiting to be selected, and if you click and hold your mouse button down on one of these tools, a fly-out menu will appear showing you the additional tools.
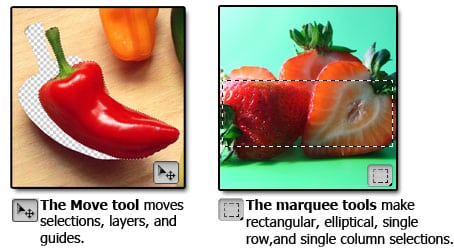
For example, by clicking and holding on the Rectangular Marquee Tool at the top of the Tools panel, a fly-out menu appears giving me access to the Elliptical Marquee Tool, the Single Row Marquee Tool and the Single Column Marquee Tool. Simply move your mouse cursor over the name of the tool you want, then release your mouse button to select it:
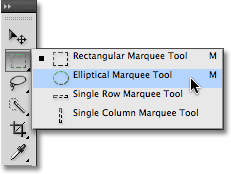
Click and hold on some tools in the Tools panel to access additional tools behind it.
Click and hold on the other tools in the Tools panel to see all of the tools available to us in Photoshop CS4.
The Options Bar
Directly related to the Tools panel is the Options Bar at the top of the screen. On a Windows system, the Options Bar is located below the Menu Bar. On a Mac, it's located below the Application Bar which is new to Photoshop CS4. We'll look at the Application Bar in a moment.
Your Options Bar may look different from mine, and that's because it always changes to display options for whichever tool you current have selected. Here, the Options Bar is displaying options for the Move Tool:

The Options Bar displays options for the currently selected tool.
If I select the Crop Tool from the Tools panel, the Options Bar changes to display options for the Crop Tool:

The Options Bar now displaying options for the Crop Tool.
And if I select the Type Tool, we see options displayed for the Type Tool:

The Options Bar now displaying options for the Type Tool.
Every tool has its own set of options which will always be available in the Options Bar.
The Panels
Along the right side of the screen in Photoshop CS4 is where we find the Panels column (panels were known as palettes in earlier versions of Photoshop). Panels give us access to all kinds of commands and options for working on our images, from organizing layers and viewing individual color channels to choosing colors, stepping back through history states, working with text, viewing information about our images, and so much more. Most of the panels in Photoshop CS4 are the same ones that have been available in earlier versions of Photoshop, but some, like the Adjustments Panel, are brand new to CS4:
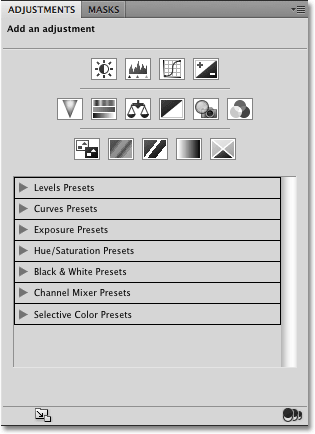
The Adjustments Panel is new to Photoshop CS4.
By default, only a handful of panels are displayed on the screen to begin with, but you can access any of Photoshop's panels at any time simply by choosing the one you want from the Window menu up in the Menu Bar. A checkmark beside a panel's name means it's already open on the screen. Selecting a panel that's already open will close it. A couple of the panels listed below are available only in the Extended version of Photoshop CS4, but most are available in the Standard version:
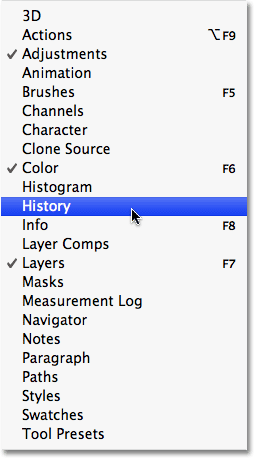
All of Photoshop CS4's panels can be accessed from the Window menu.
To keep things organized and save screen space, most of Photoshop's panels are grouped in with other related panels. This is known as a panel group, if you didn't already guess that on your own. For example, the Layers, Channels and Paths panels are grouped together by default. To select the panel you want from the group, simply click on the panel's name tab at the top:
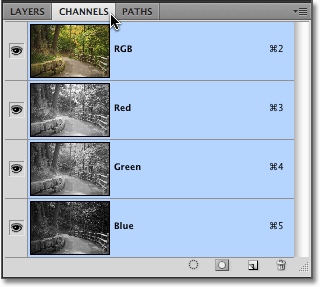
Click on a panel's name tab to select it inside the panel group.
All panels come with various options and commands that are specific to that panel. You can access these options by clicking on the panel's menu icon in the top right corner. Unfortunately, it's not the most obvious thing on the screen and many Photoshop users don't even know it's there, but you should click on each panel's menu icon to see what options and commands are available for it:
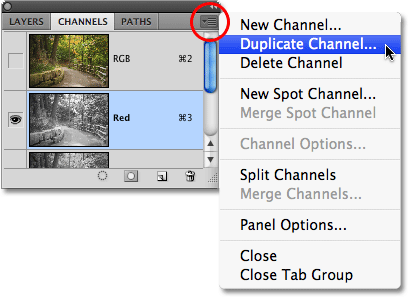
Click on a panel's menu icon to view a list of related options and commands.
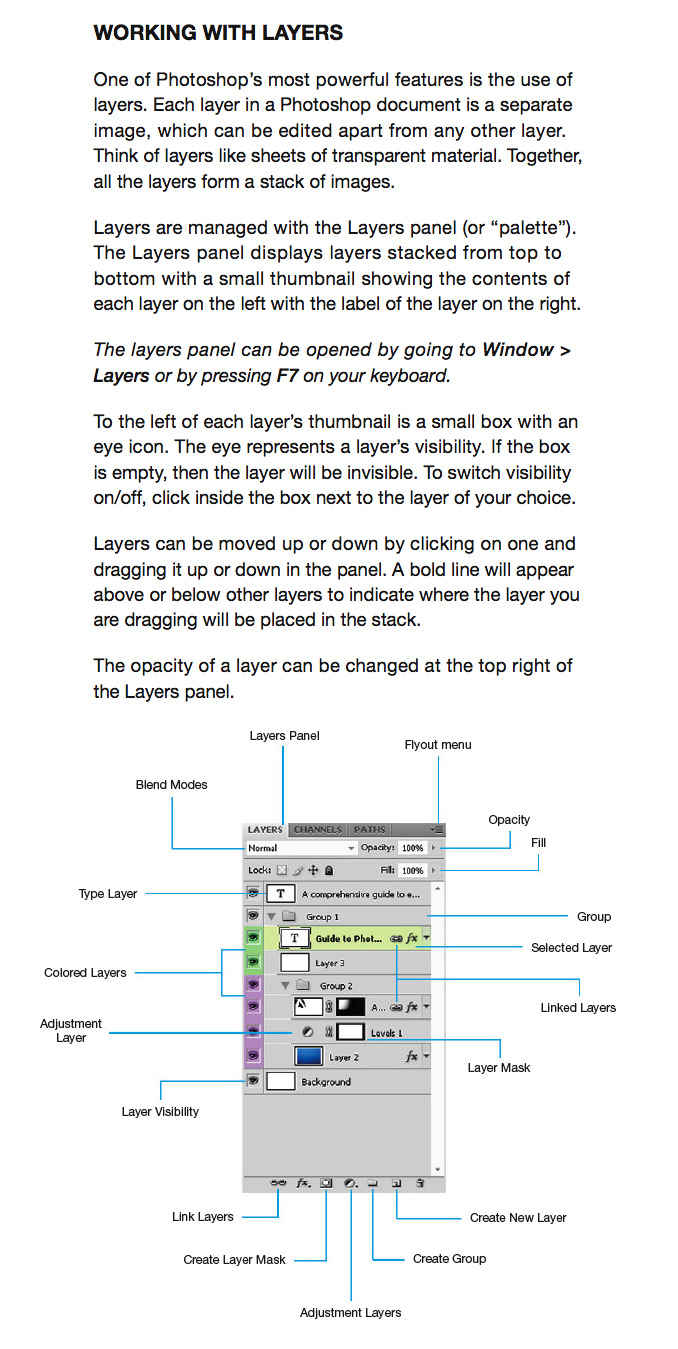
Layers Panel
Workspaces
In the top right corner of the screen is an option that allows us to quickly select from various workspaces, either ones that are built in to Photoshop CS4 or custom workspaces we've created ourselves. Workspaces allow us to set up different panel arrangements, menus and even keyboard shortcuts for different tasks. For example, you may want certain panels open when editing images and other panels open when painting with Photoshop's brushes or when working with type. Workspaces allow us to set up the screen any way we want, save it, and then quickly select it again any time we need it! Photoshop CS4 comes with several built in workspaces. The Essentials workspace is selected by default but you can access the complete list of available workspaces, including any custom ones you've created, by clicking on the word Essentials and selecting a new workspace from the list that appears:
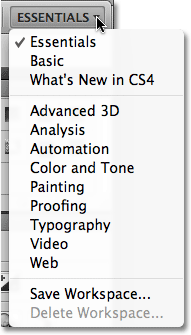
Click on the word "Essentials" in the top right corner of the screen to view all the available workspaces.
The Document Window
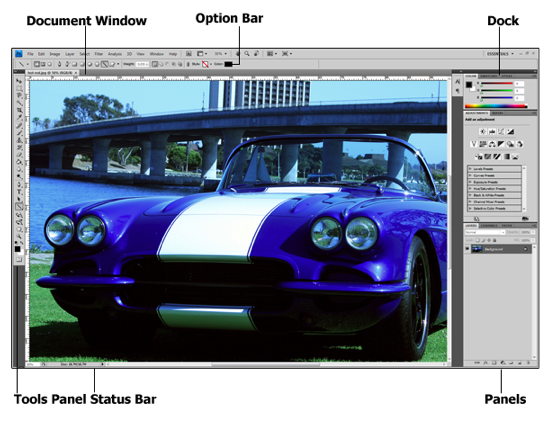
The largest and most obvious interface element in Photoshop is the document window. The document window is where we view our images and where we do all of our editing work:
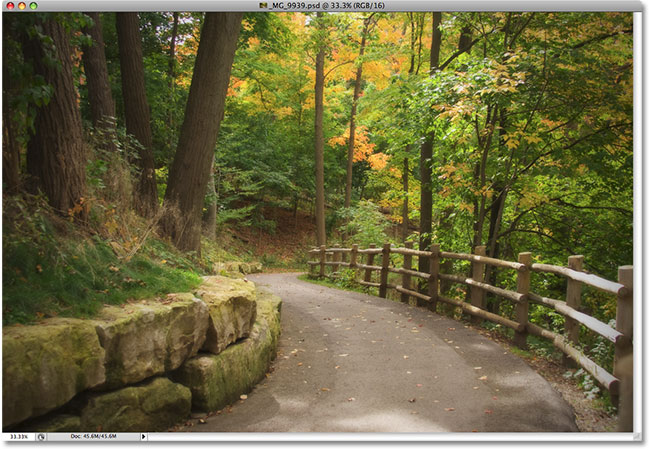
Each image appears inside its own document window.
Document windows in Photoshop do much more though than simply display the image. They also tell us quite a few things about the image. At the top of the document window, you'll find the name of the image, followed by the current zoom level, the color mode, and the current bit depth:

The top of the document window gives us information about the image.
You'll find even more information at the bottom of the document window. In the bottom left corner is the zoom level once again, followed by the current file size of the image, which includes the size with all layers intact and the size if you were to flatten the image. If you click on the right-pointing arrow, then choose Show, you'll see a whole list of details about the image you can view, including the document dimensions, color profile, and even which tool you currently have selected from the Tools panel:
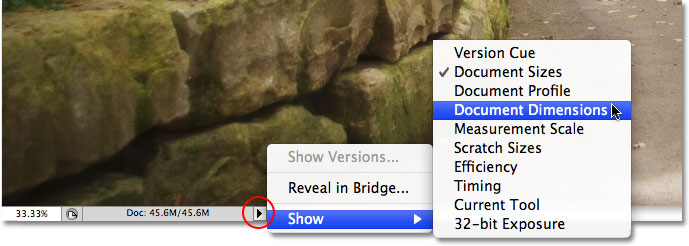
Much more information about the image is available at the bottom of the document window.
When creating a new document, always choose RGB color. The RGB color model is an additive color model in which red, green, and blue light are added together in various ways to reproduce a broad array of colors. The name of the model comes from the initials of the three additive primary colors, red, green, and blue. If you plan on PRINTING the image, then convert it to CMYK color mode.
The main purpose of the RGB color model is for the sensory, representation, and display of images in electronic systems, such as televisions and computers, though it has also been used in conventional photography.
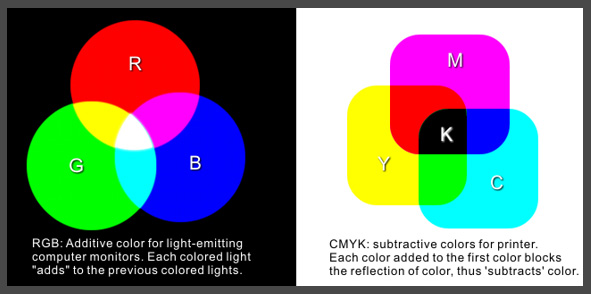
Color Terminology:
- Hue is color (blue, green, red, etc.).
- Chroma is the purity of a color (a high chroma has no added black, white or gray).
- Saturation refers to how strong or weak a color is (high saturation being strong).
- Value refers to how light or dark a color is (light having a high value).
- Tones are created by adding gray to a color, making it duller than the original.
- Shades are created by adding black to a color, making it darker than the original.
- Tints are created by adding white to a color, making it lighter than the original.
Computer Graphics Terminology:
In all of digital imagery there are two types of file formats, vector and bitmap...
Here's a short guide of the difference betwen Vector and Bitmap digital images:
Adobe Illustrator is a vector graphics-based software. Photoshop is primarily a bitmap-based software.
So what's the difference between the two computer imaging technologies?
Bitmap
Bitmap images (also known as raster images) are made up of pixels in a grid. Pixels are picture elements; tiny dots of individual color that make up what you see on your screen. All these tiny dots of color come together to form the images you see. Bitmap images are resolution dependent. Resolution refers to the number of pixels in an image and is usually stated as dpi (dots per inch) or ppi (pixels per inch). Bitmap images are displayed on your computer screen at screen resolution: approximately 100 ppi. However, when printing bitmaps, your printer needs much more image data than a monitor. In order to render a bitmap image accurately, the typical desktop printer needs 150-300 ppi. If you've ever wondered why your 300 dpi scanned image appears so much larger on your monitor, this is why.
Because bitmaps are resolution dependent, it's difficult to increase or decrease their size without sacrificing a degree of image quality. When you reduce the size of a bitmap image through your software's resample or resize command, you must throw away pixels. When you increase the size of a bitmap image through your software's resample or resize command, the software has to create new pixels. When creating pixels, the software must estimate the color values of the new pixels based on the surrounding pixels. This process is called interpolation.
Common bitmap formats include:
- BMP
- GIF
- JPG
- PNG
- PIC
- PCX
- TIF
- PSD (Adobe Photoshop)
Key Points About Bitmap Images:
- pixels in a grid
- resolution dependent
- resizing reduces quality
- easily converted
- restricted to rectangle
- minimal support for transparency
Vector
Vector images are made up of many individual, scalable objects. These objects are defined by mathematical equations rather than pixels, so they always render at the highest quality. Objects may consist of lines, curves, and shapes with editable attributes such as color, fill, and outline. Changing the attributes of a vector object does not effect the object itself. You can freely change any number of object attributes without destroying the basic object. An object can be modified not only by changing its attributes, but also by shaping and transforming it using nodes and control handles.
Because they're scalable, vector-based images are resolution independent. You can increase and decrease the size of vector images to any degree and your lines will remain crisp and sharp, both on screen and in print. Fonts are a type of vector object. In essence, all images generated within 3D modelling programs are vector-based wireframes and geometry. But once you render an image from Maya or other 3D design software, it becomes a flat 2D rendered bitmap image. Any vector image can, quite easily, be converted to bitmaps. This process is called rasterizing. When you convert a vector image to a bitmap, you can specify the output resolution of the final bitmap for whatever size you need.
Common vector formats include:
- EPS (Adobe Illustrator, Freehand, Fireworks, InDesign, Flash)
- AI (Adobe Illustrator)
- FLA (Adobe Flash)
- CDR (CorelDRAW)
- CMX (Corel Exchange)
- CGM Computer Graphics Metafile
- DXF AutoCAD
- WMF Windows Metafile
Key Points About Vector Images:
- scalable
- resolution independent
- transparent background
- more simple & cartoon-like
- inappropriate for photo-realistic images
The image to the left below is representative of a bitmap
and the image to the top middle is representative of a vector
graphic. They are shown at four times actual size to
exaggerate the fact that the edges of a bitmap become
jagged as it is scaled up:
 |
Vector Graphic:
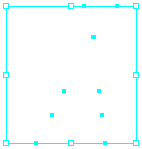
Anti-Aliased Bitmap Image:
 |
Smooth Vector Image:
 |
Bitmap images require higher resolutions and anti-aliasing
for a smooth appearance. Vector-based graphics on the
other hand are mathematically described and appear smooth
at any size or resolution.
Remember: Bitmaps are composed of pixels, and Vector graphics are composed of paths. Both have their own pros and cons.
Anti-Alias
Anti-aliasing is a method of drawing text or pictures which smooths
edges, and avoids jagged edges.
Anti-Aliasing
is often referred in games
and on graphics cards. In
games especially the chance
to smooth edges of the
images goes a long way to
creating a realistic 3D
image on the screen.
Remember though that
Anti-Aliasing does not
actually smooth any edges of
images it merely fools the
eye. Like a lot of things
they are only designed to be
good enough. If you can't
tell the difference then
that's fine. Lets take a
look at the example below to
demonstrate the effects of
Anti-Aliasing.
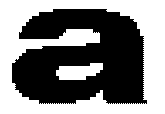

The letter on the left is a blown up
letter a with no anti-aliasing. The letter on the right has had
anti-aliasing applied to it. In this blown up form it looks like its
simply blurred but if we reduce the size down to a more standard size
you may see the difference.


Now look closely at the two letters. You
can still tell that the letter of the left is jagged but the letter on
the right looks a lot smoother and less blurry than the example above.
Remember I have only shrunk the image down back to normal size and have
not altered anything else to the image at all. So as you can see,
Anti-Aliasing brings a much more pleasing image to the eye. Something
like what comes out of a high class printer rather than what you can be
used to seeing when on a computer screen.
Why do we get jagged edges on our graphics?
Jagged edges are cause by limitations in a
computer screen, whether that be a CRT or TFT/LCD screen its all the
same. Monitors are capable or producing nearly perfect straight lines
either horizontally or vertically, but when it comes to diagonal lines
of any angle your monitor is not capable of producing a line without
some jagged edge. This is because your screen is made up of pixels in a
grid formation. When you draw a diagonal line on a computer screen it
has to cross several grid lines, because pixels create blocks of colour
diagonal lines displace these blocks slightly causing jagged edges,
Check out the following example to see what happens on your screen.
 |
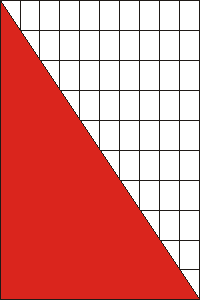
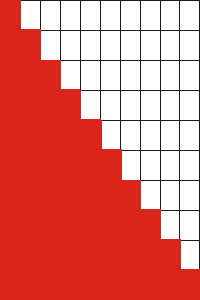
To the left is a graphic on a grid
of how we would draw a diagonal line on a grid. As you can to get
a straight line we have to cross over the grid lines. To the right
is a graphic of how a computer would draw the same line. As you
can see the line is jagged. This is because the grid squares are
pixels and half a pixel cannot be one colour and half the other.
The pixel is red or white in this case. |
 |
Newer monitors are combating the problem
themselves by decreasing the dot pitch. Dot pitch is the space between
pixels. The closer the pixels the less jagged to lines appear. However
while this can decrease the effects it can't solve them. Move on to page
2 to see how Anti-Aliasing works to fool your eye into thinking you have
straight smooth edges.
Alpha
Alpha Transparency is a method of implementing transparency for bitmaps.
In Alpha Transparency, for each pixel in the bitmap, a level of transparency ("Alpha Value") which allows images to be smoothly merged into different backgrounds with anti-aliasing.
Composite
Imagine an image (particularly a bitmap) that is formed by merging a foreground image and a background image, using transparency information to determine where the background should be visible.
- The final image is said to be a "composite"
- The process is said to be "compositing"
- The foreground image is said to be "composited against" the background
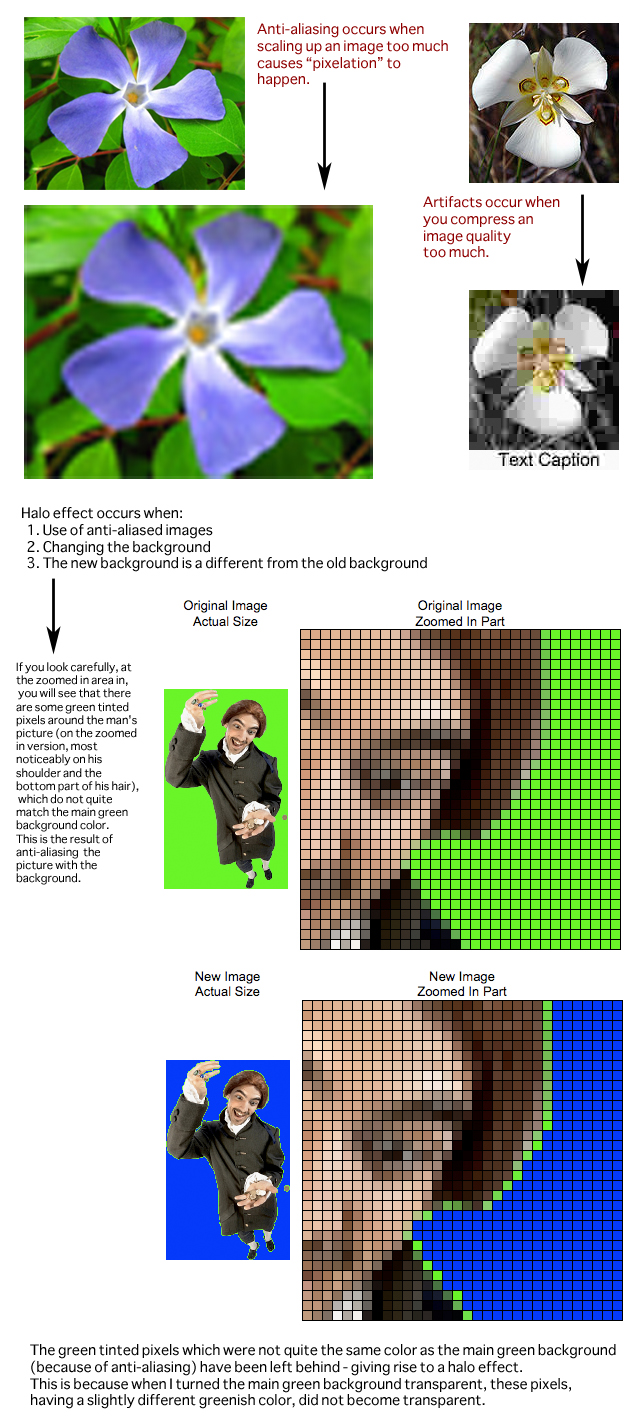
Halo
Halos are undesirable artifacts that can occur when you take an anti-aliased image on one background, and try to change the background. What happens is that a trace ("halo") of the original background may be left around the new image.

Color Depth
Color Depth refers to the number of bits (binary digits) of computer memory that are used to store color information for an image (typically a bitmap) or for a device (such as a screen).
The greater the color depth, the more colors may be stored, and this also determines how many different colors the image or device may simultaneously contain/display. For example:
- 1-bit allows monochrome or 2 colors.
- 2-bit allows 4 colors.
- 4-bit allows 16 colors.
- 8-bit allows 256 colors.
- 16-bit allows 65,536 colors.
- 24-bit allows 16,777,216 colors.
Resolution
Resolution measures the amount of detail that can be stored in a bitmap image.
It is measured in terms of the number of pixels per inch on the screen/paper (this is called "Dots Per Inch" or "DPI for short).
- The higher the resolution, the higher the DPI value, and the more detail can be recorded in the image.
- The lower the resolution, the lower the DPI value, and the less detail can be recorded in the image.
Thus, the advantage of the a higher resolution, is that it allows bitmap graphics to contain more detail.
The disadvantage of higher resolutions, is they take more memory and disk space to store, and more computer processing power to display.
Learn about how to export your images from Photoshop:
View this guide of all the file types.
The Stylus Pen & Tablet is a valuable tool when using Photoshop, or even Painter, Sketchbook Pro, Illustrator, Freehand, or Fireworks:
View this guide on the Wacom tablet.
So that's it!
This completes the basic overview of the entire Photoshop work environment & digital graphics terminology.
You'll learn more of the functions and operations in detail as you make your way through the assignments.
One last thing, you can download the entire Photoshop CS5 PDF Guide book
here.
This is a full 600+ page support document for the software.


![]()
![]()
